Managing Categories
Organize your products into categories for easy browsing and storefront navigation.
Overview
Categories help customers browse your storefront. Instead of scrolling through dozens of products, shoppers can tap "Flower", "Edibles", or "Concentrates" and see only what they want. Categories also appear in your storefront navigation and can be used to group products in any way that makes sense for your store.
You can create a simple flat list of categories, or nest them with parent–child relationships for a more structured menu — for example, a parent "Flower" with sub-categories "Indica", "Sativa", and "Hybrid".
Creating a Category
Click Add Category in the top-right corner to open the category form.

- Name
- The display name shown to customers and in your admin — e.g., "Flower", "Edibles", "Concentrates".
- URL Text
- The web address text for this category. It is created automatically as you type. You can edit it, but avoid changing it after going live because old links may break.
- Parent Category
- Leave blank for a top-level category. Choose an existing category to nest this one inside it — for example "Indica" under "Flower".
- Image
- Upload a thumbnail shown on category cards in the storefront. Recommended size: 400 × 400 px, square, high contrast.
- Sort Order
- Controls the position of this category relative to others. Lower numbers appear first. Categories with the same sort order are sorted alphabetically.
- Active
- Only active categories are visible in the storefront. Leave inactive to prepare a category in advance without publishing it yet.
Click Save Category when done. The new category appears in the table immediately.
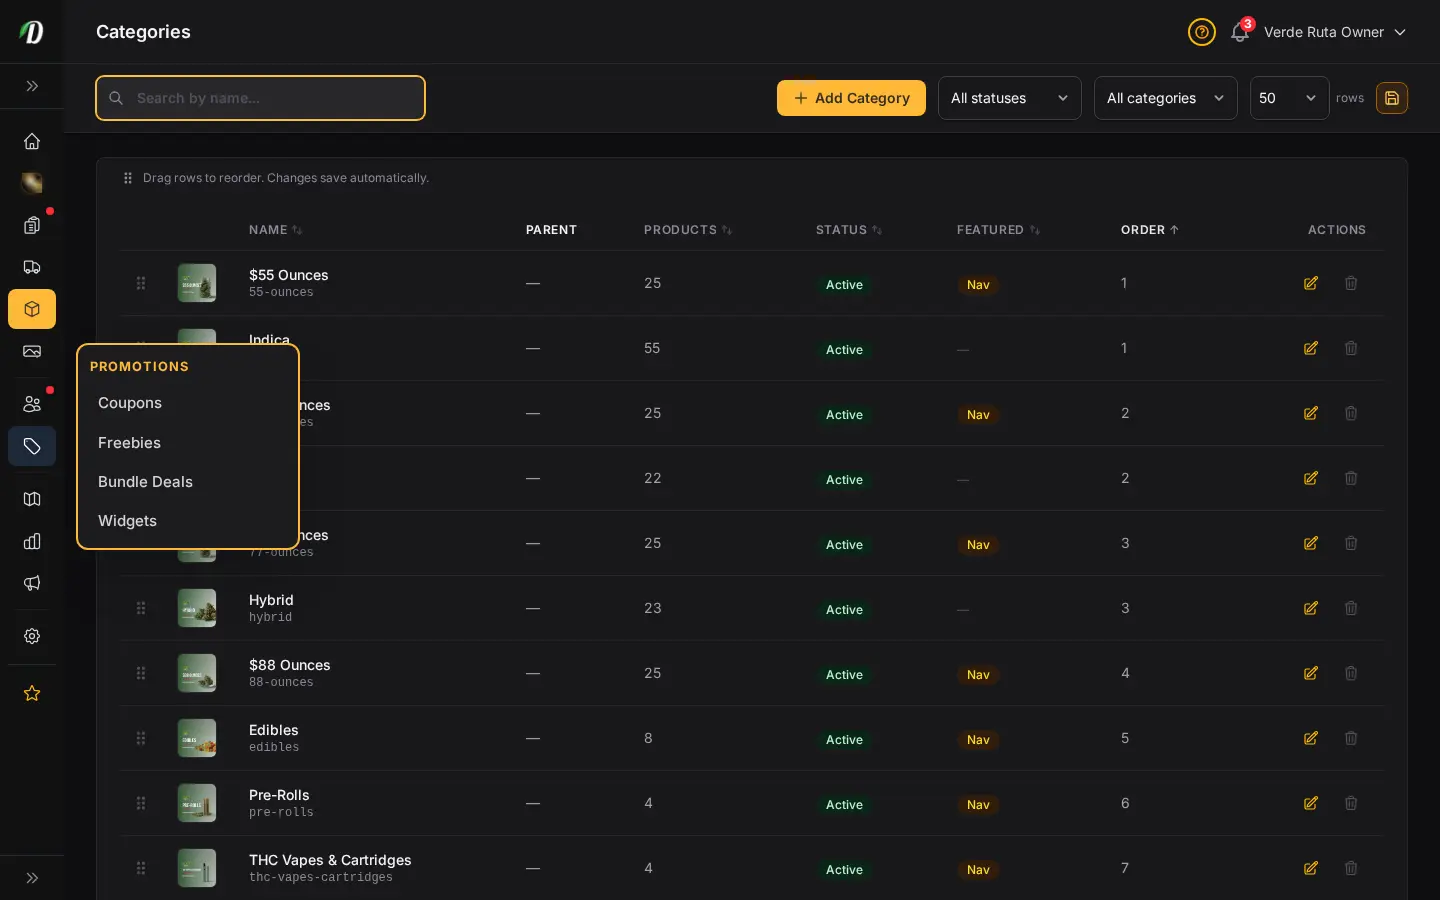
Reading the Category Table
Each row in the categories table shows:
- Image
- A 40 × 40 px thumbnail of the category image. A placeholder icon is shown if no image has been uploaded.
- Name / URL Text
- The category name (top) and URL text (bottom). Click the name to open edit.
- Parent
- The parent category name, if this is a sub-category. Shows a dash (—) for top-level categories.
- Products
- How many products are currently assigned to this category. Categories with products attached cannot be deleted — you must move or remove the products first.
- Status
- Green "Active" badge or grey "Inactive" badge. Only active categories display in the storefront.
- Sort Order
- The numeric position used to order categories in the storefront navigation. Lower numbers appear first.
Editing a Category
Click the category name or the pencil icon in the Actions column to open the full edit form.
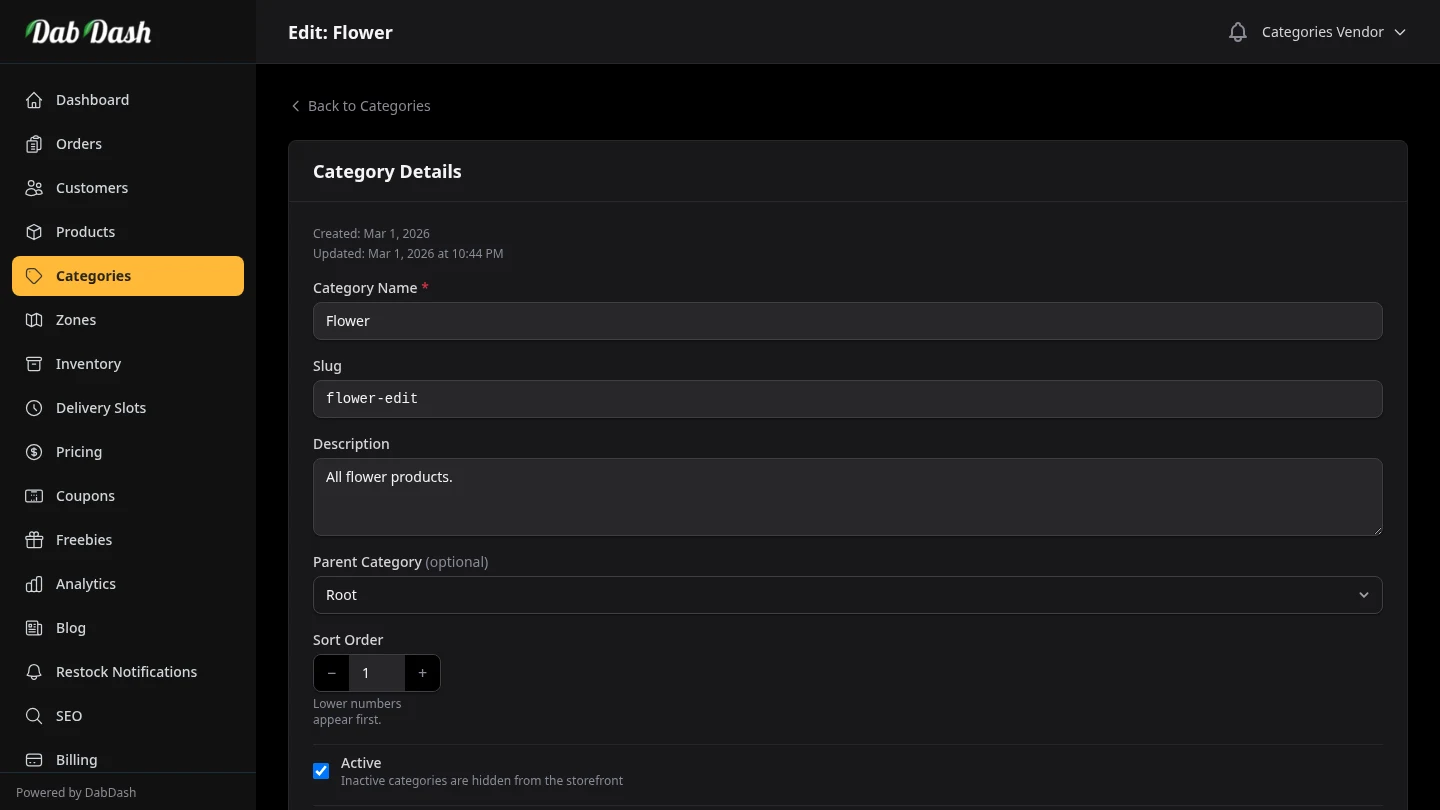
All the same fields are available as when creating: name, URL text, description, parent, image, sort order, and active switch. Changes take effect immediately in the storefront after saving.
The Danger Zone card at the bottom of the edit form lets you permanently delete the category. The delete button is disabled while products are assigned to the category. Move or remove those products first, then return here to delete.
Deleting a Category
Click the trash icon in the Actions column to delete a category. You will be asked to confirm before anything is removed.
Categories with products attached cannot be deleted. The delete button is disabled and shows a tooltip explaining how many products are preventing deletion. To delete the category, first go to Products and reassign or remove those products from the category.
Tips
- Keep your top-level category list short (5–8 categories). Too many choices overwhelm customers and hurt conversion.
- Use sub-categories for strain types (Indica / Sativa / Hybrid) or product formats (Pre-Rolls / Infused Pre-Rolls) — not for individual strains.
- Add category images — they appear on category cards in the storefront and significantly improve browse-mode conversion.
- Use sort order to put your best-selling categories first. Customers see higher-sort-order categories first on mobile.
- An inactive category is invisible in the storefront but its products remain intact. Use this to temporarily hide a category during a menu refresh without losing your product assignments.