Staff & Permissions
Add staff members, set initial passwords, and control which parts of the dashboard each person can access.
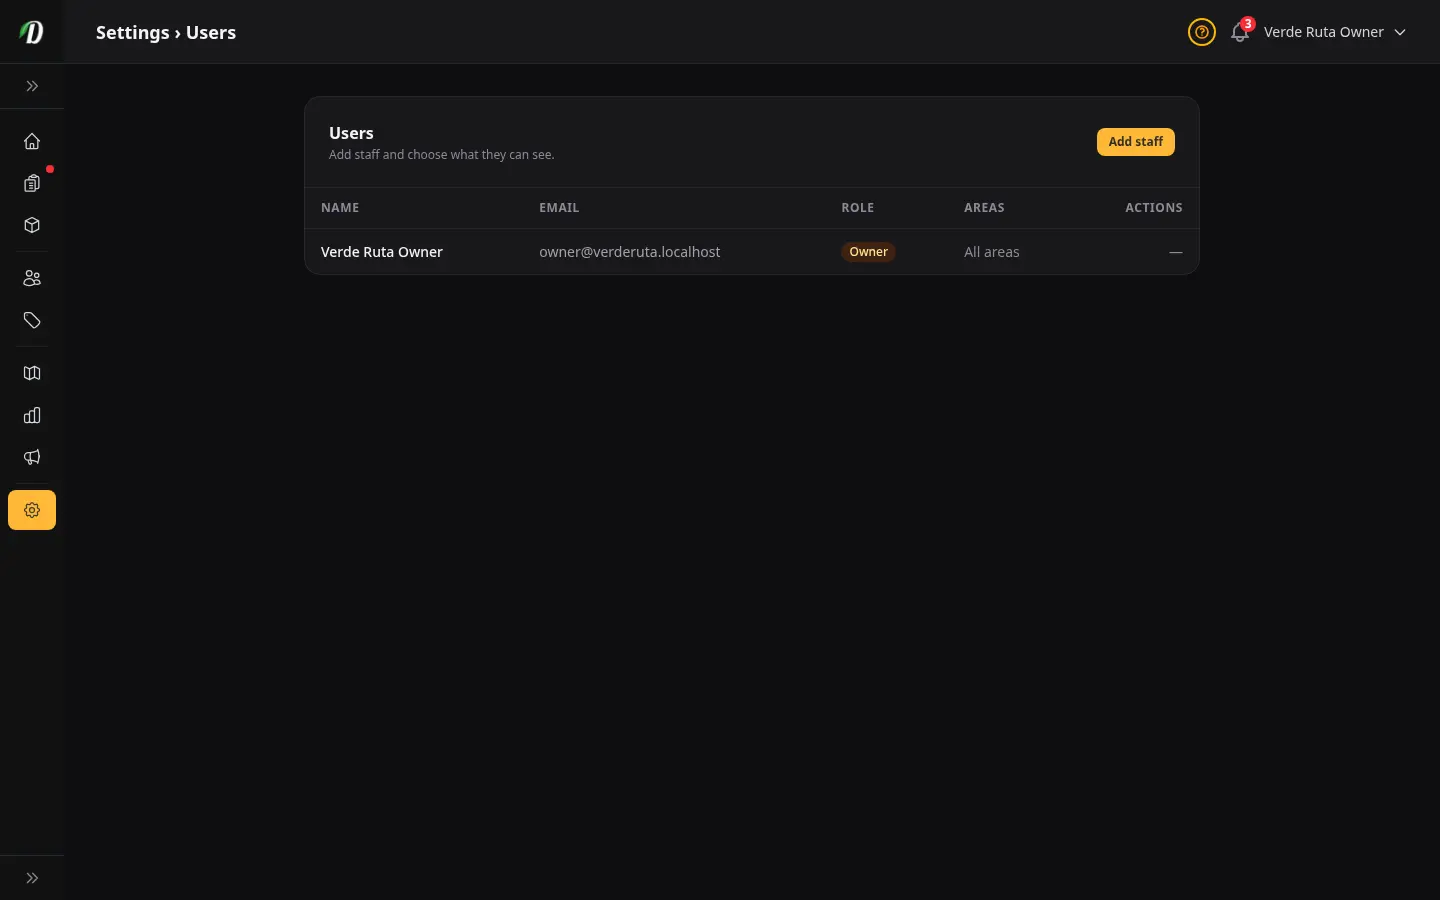
What this page does
Staff & Permissions lets you give other people access to your DabDash dashboard without sharing your owner account. Each staff member gets their own login and you choose exactly which parts of the dashboard they can see.
The owner account always has full access. Staff members can only see the areas you grant them.
Owner vs. Staff
- Owner
- The account that registered the store. Full access to every page, including billing, settings, and staff management. There is always exactly one owner.
- Staff
- Any additional account you add. Staff can only see the areas you tick when you set them up. They cannot manage other staff members or access billing.
- Driver
- A team member who delivers orders. When delivery logistics is on, you can set where this driver starts routes: the store (default), their address, or the middle of a delivery zone. Optimized routes and the map use that start.
Where a driver starts
On the add or edit form for a driver, choose Start location under Where this driver starts:
- Store — same as today; routes begin at your store.
- Their address — enter an address; DabDash finds it on the map when you save.
- Middle of a zone — pick one of your delivery zones; they start in the centre of that area.
This only appears for the driver role when delivery logistics is enabled. Staff and owner accounts do not use it.
Adding a staff member
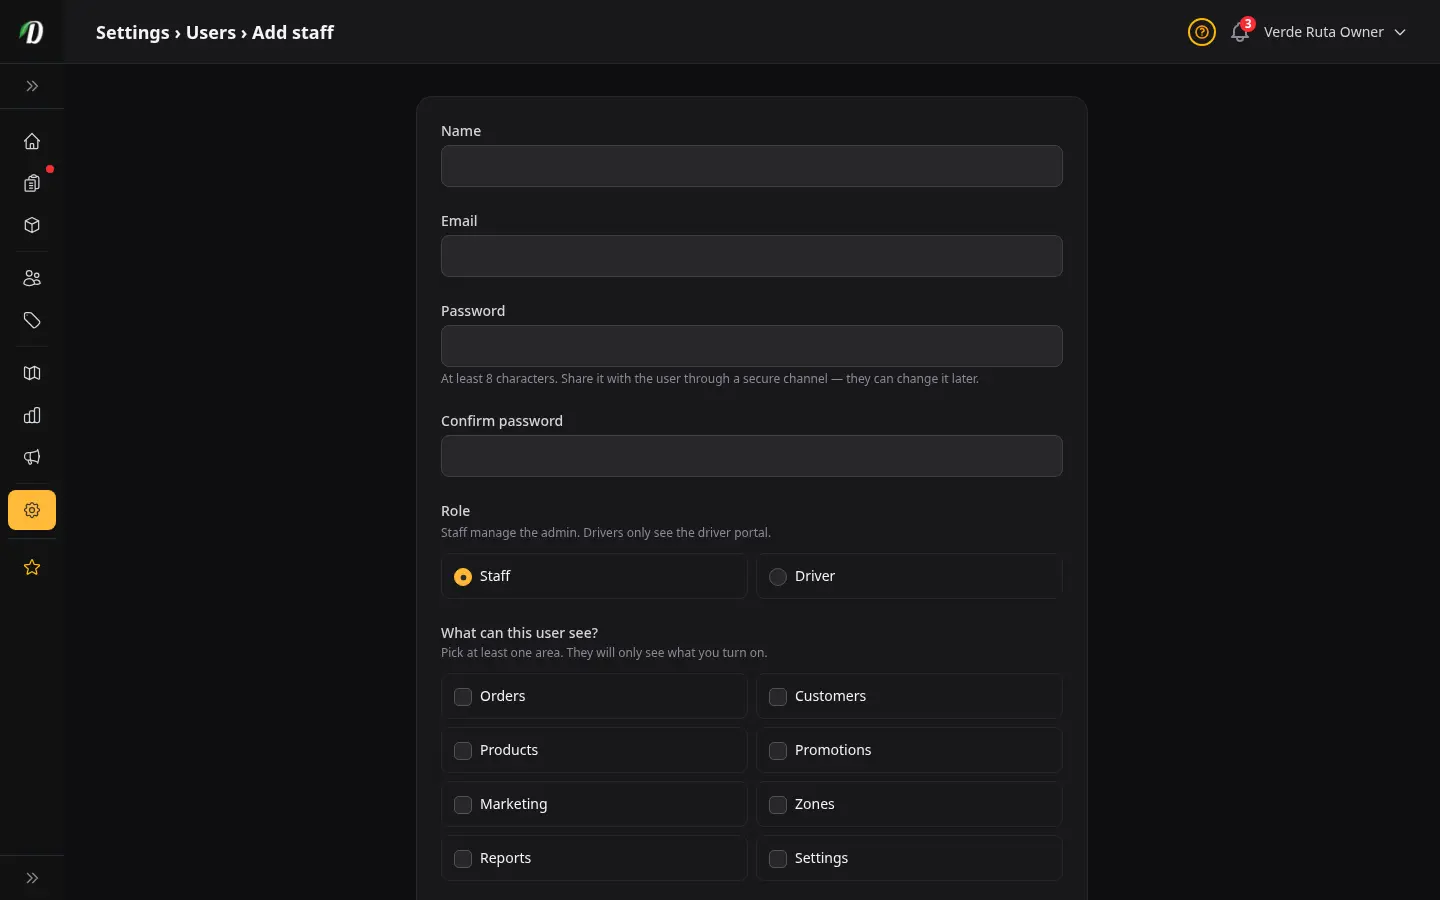
- Click Add staff in the top right of the Users table.
- Enter the staff member's name and email address.
- Set an initial password and confirm it. Passwords must be at least 8 characters. Share it securely — they can change it once logged in.
- Tick the areas this person should be able to access. See the Areas reference below for what each one covers.
- Click Add staff member. They can now log in at dabdash.com with their email and password.
Editing a staff member
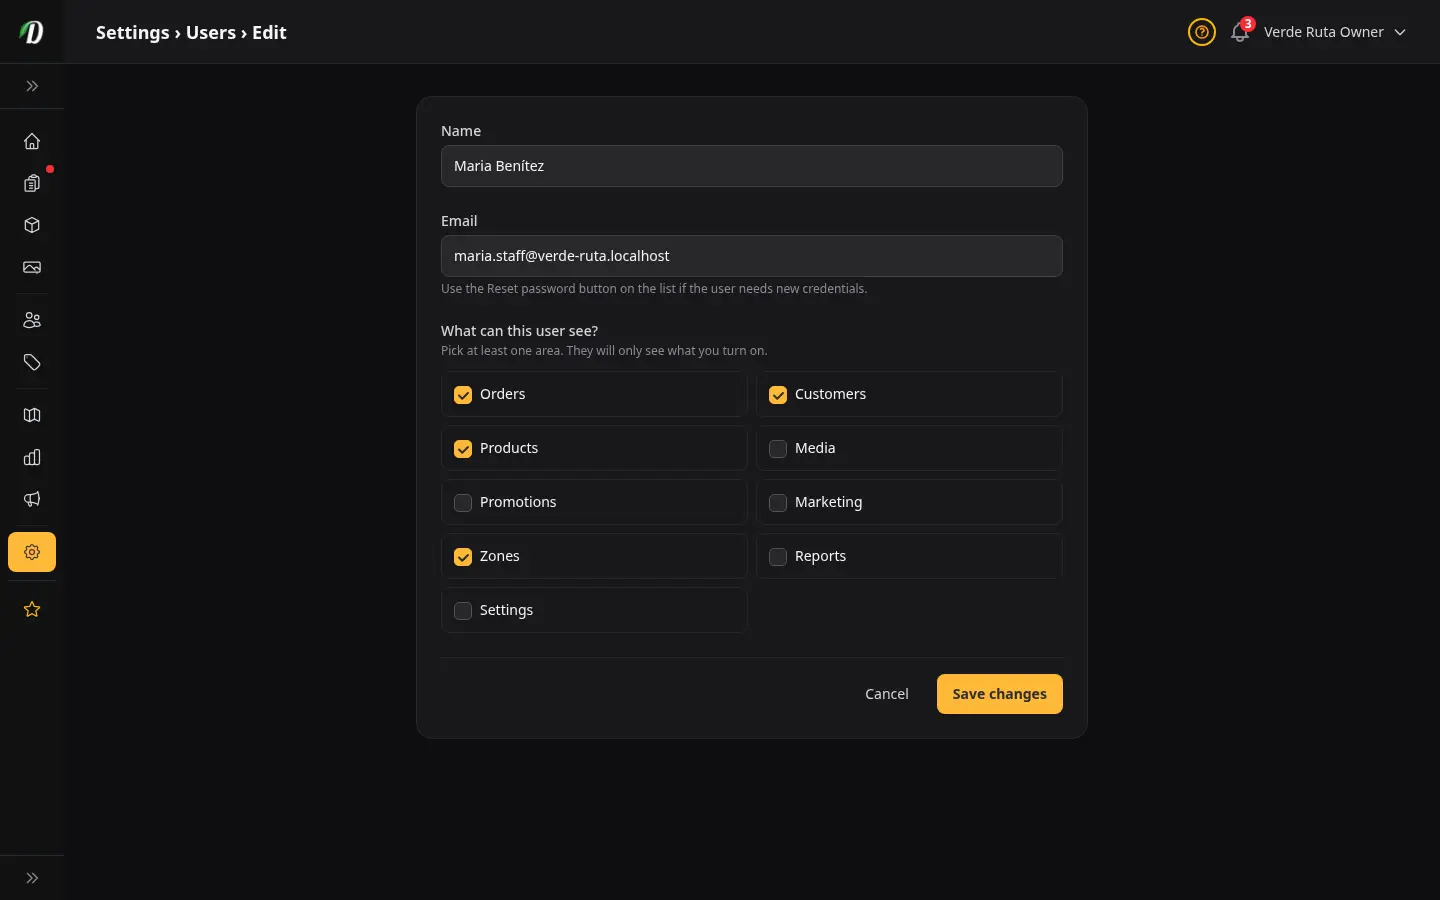
Click the pencil icon in the Actions column next to the staff member. You can update their name and change which areas they can access.
The email address is locked after creation. If a staff member needs to use a different email, remove them and add them again with the new address.
Resetting a staff member's password
Click the key icon in the Actions column. DabDash generates a new random password and shows it to you on screen. Copy it and share it securely — it will not be shown again.
Tip: The password is only shown once. If you close the page before copying it, you will need to reset it again.
Removing a staff member
Click the trash icon in the Actions column. You will be asked to confirm. Removing a staff member deletes their login account — they will not be able to log in any more.
Warning: Removing a staff member is permanent. Their account is deleted. Any orders, notes, or data they created stays in your store.
Permission areas
Each area controls access to a section of the dashboard. Tick only the areas a staff member needs for their role.
| Area | What it unlocks |
|---|---|
| Orders | View, process, and update customer orders. Change order status, print invoices, and view order details. |
| Customers | Browse the customer directory, view profiles, order history, and loyalty points. |
| Products | Create, edit, and manage products, categories, inventory, and price menus. |
| Promotions | Manage coupons, freebie rules, and bundle deals. |
| Marketing | Edit homepage promotional widgets, publish blog posts, and manage SEO settings. |
| Zones | Draw and edit delivery zones on the map, set delivery fees and minimum order amounts. |
| Reports | View analytics — revenue, top products, COGS, inventory valuation, and zone reports. |
| Settings | Access store settings pages. Does not include Users management (owner-only) or billing. |
Frequently Asked Questions
How do I add a staff member in DabDash?
Go to Settings → Users, click Add staff, enter the staff member's name, email, and an initial password, then tick the areas they should be able to see. Click Add staff member to create their account. They can log in immediately with the email and password you set.
How do I change what a staff member can see in DabDash?
Go to Settings → Users and click the pencil icon next to the staff member. Tick or untick areas in the permission checkboxes and click Save changes. The new permissions take effect the next time they load a page.
How do I reset a staff member's password in DabDash?
Go to Settings → Users and click the key icon in the Actions column next to the staff member. DabDash generates a new random password and shows it to you once. Copy it and share it securely with the staff member — they can change it themselves under Your Account once logged in.
Can a staff member access billing in DabDash?
No. Billing is accessible only to the store owner. Staff members cannot see or change the subscription, payment method, or invoices regardless of which areas they are granted access to.