Cloudflare Setup Guide
Step-by-step guide to connecting Cloudflare, applying HTTPS settings, and linking your custom domain.
Overview
When you connect Cloudflare, DabDash applies a set of performance and HTTPS settings to your zone automatically. If the auto-apply fails — for example, because a zone setting is locked on your Cloudflare plan — you can apply each setting manually in a few minutes.
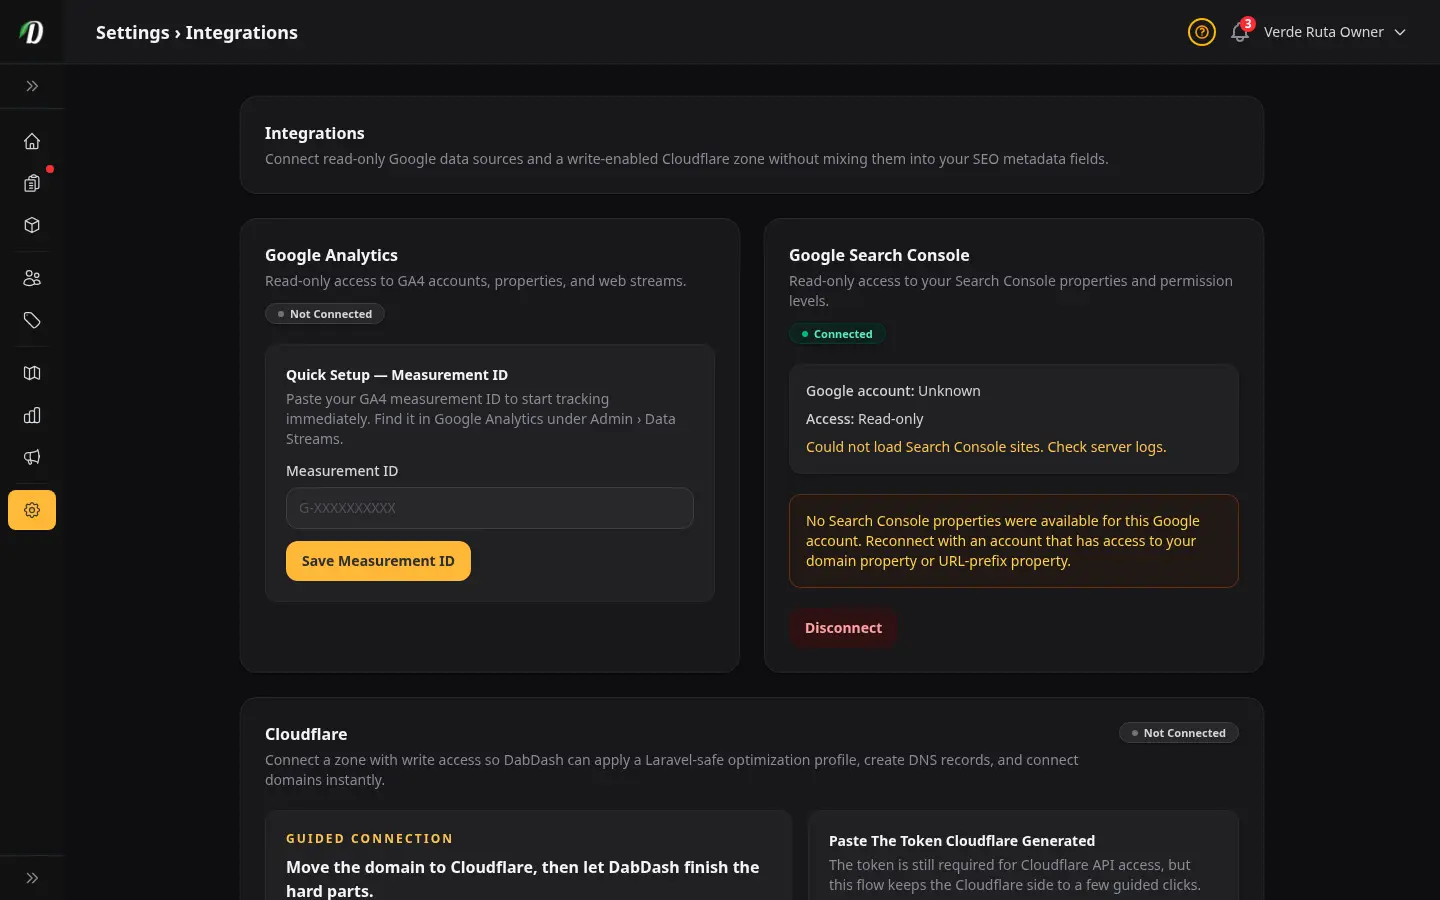
Navigate to Settings → Integrations and scroll to the Cloudflare card to follow this guide.
Before you start: Make sure your domain's nameservers already point to Cloudflare and the zone shows as Active in your Cloudflare dashboard.
Step 1 — Move nameservers to Cloudflare
Your domain must be managed by Cloudflare before DabDash can configure anything. If it is already there, skip to Step 2.
- Log in to Cloudflare and click Add a domain.
- Type your domain name and choose the Free plan (or higher).
- Cloudflare scans your existing DNS records — review them and click Continue.
- Copy the two nameservers Cloudflare gives you.
- Log in to your domain registrar (e.g. GoDaddy, Namecheap) and replace the existing nameservers with the two Cloudflare ones.
- Return to Cloudflare and click Done, check nameservers. Propagation usually takes a few minutes but can take up to 24 hours.
Once the zone status shows Active in Cloudflare, continue to Step 2.
Step 2 — Create and paste the API token
DabDash needs an API token with specific permissions to manage your zone. The Open Cloudflare button creates a template with those permissions already selected.
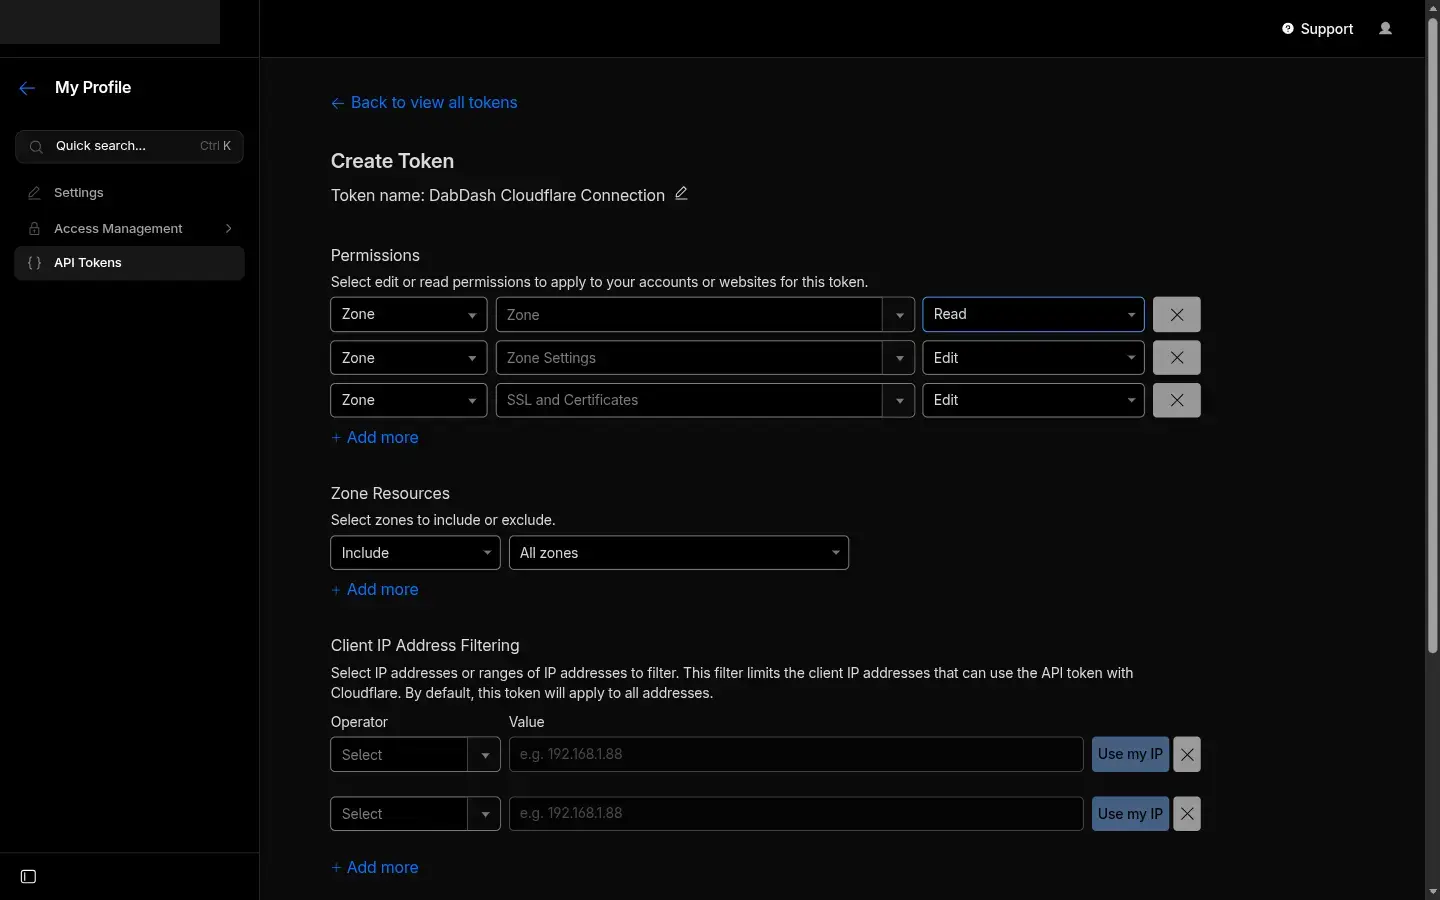
- On the Integrations page, click Open Cloudflare — this opens Cloudflare with the 6 required permissions already ticked.
- In Cloudflare, scroll down and click Continue to summary, then Create Token.
- Copy the token Cloudflare shows you. It is only shown once — copy it before closing that page.
- Back in DabDash, paste the token into the Cloudflare Access Token field.
- Click Validate Cloudflare Access. DabDash confirms the token is valid and loads your zones.
The token needs these 6 permissions:
- DNS write access
- Zone read access
- Zone settings write access
- SSL and certificates write access
- Dynamic URL redirects write access
- Cache purge access
Step 3 — Pick your zone and approve optimization
After the token validates, a zone selection panel appears. This is where you tell DabDash which Cloudflare zone to manage.
- Select your domain from the Zone dropdown — it should show the domain with a status of Active.
- Review the DabDash will manage list.
- Tick the I want DabDash to optimize this Cloudflare zone checkbox.
- Click Connect And Optimize Cloudflare.
DabDash connects to Cloudflare, applies all managed settings, and the card updates to show Connected — In Sync.
Step 4 — Connect your custom domain
Once Cloudflare is connected, use the Connect a Custom Domain form to point your domain at your DabDash storefront. DabDash creates all required DNS records in Cloudflare and marks the domain as verified instantly.
- Type your custom domain into the Custom Domain field.
- Click Connect Domain With Cloudflare.
- DabDash creates an A record, a www CNAME, and a TXT verification record — all proxied through Cloudflare. The domain is verified immediately.
If auto-apply fails — apply settings manually in Cloudflare
DabDash applies these zone settings automatically when you connect. If the Zone Maintenance card shows Needs Sync, apply the settings below directly in your Cloudflare dashboard.
SSL/TLS → Overview
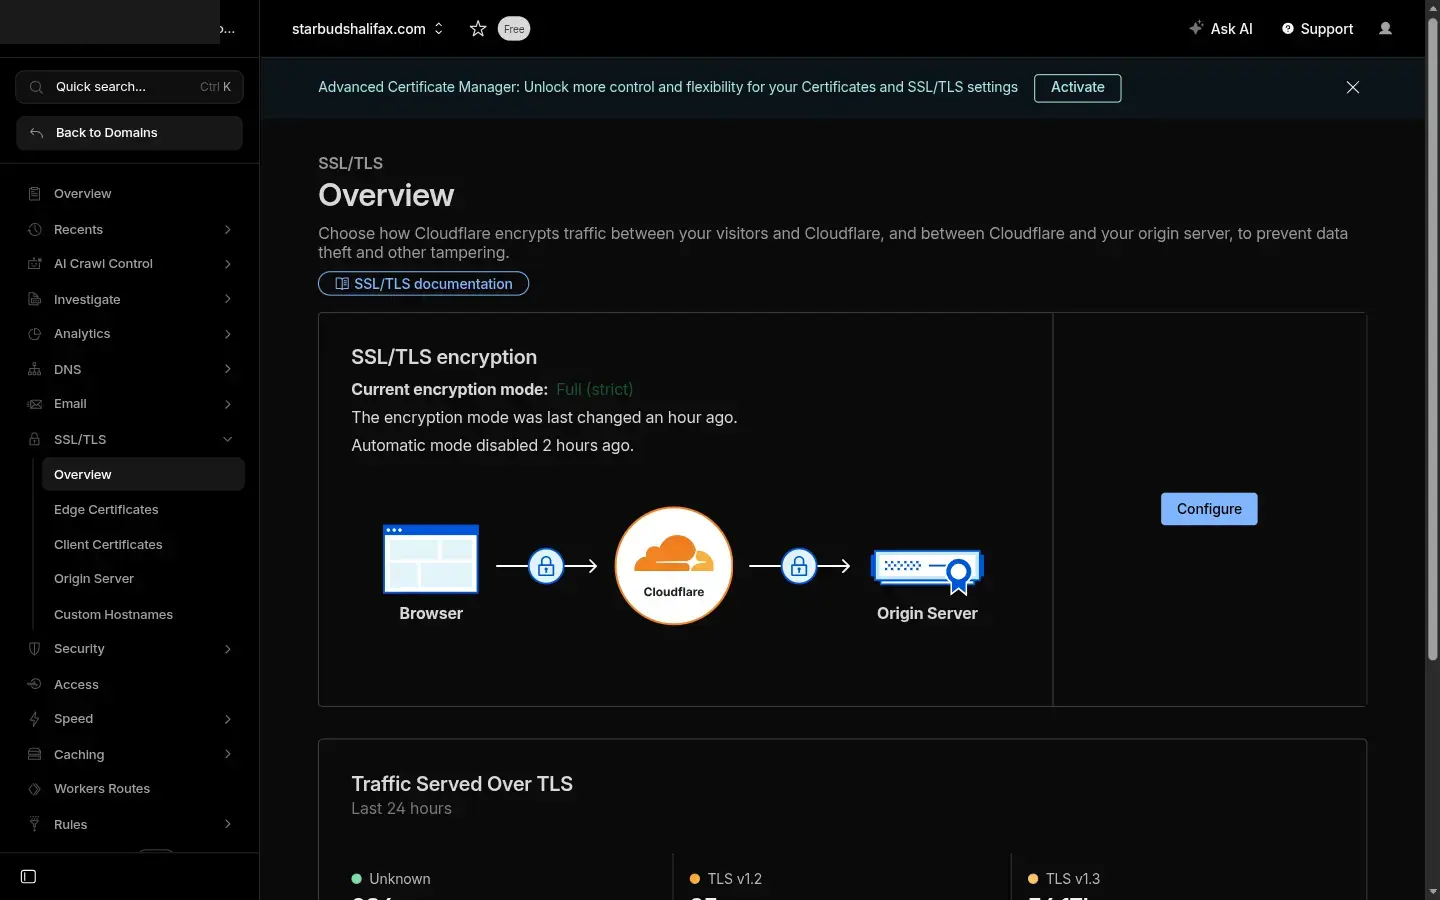
| Setting | Value |
|---|---|
| SSL/TLS encryption mode | Full (strict) |
Why Full (strict)? DabDash no longer accepts HTTP on port 80 — all traffic must arrive over HTTPS. Full (strict) mode tells Cloudflare to only connect to the DabDash origin over HTTPS and to verify the SSL certificate.
SSL/TLS → Edge Certificates
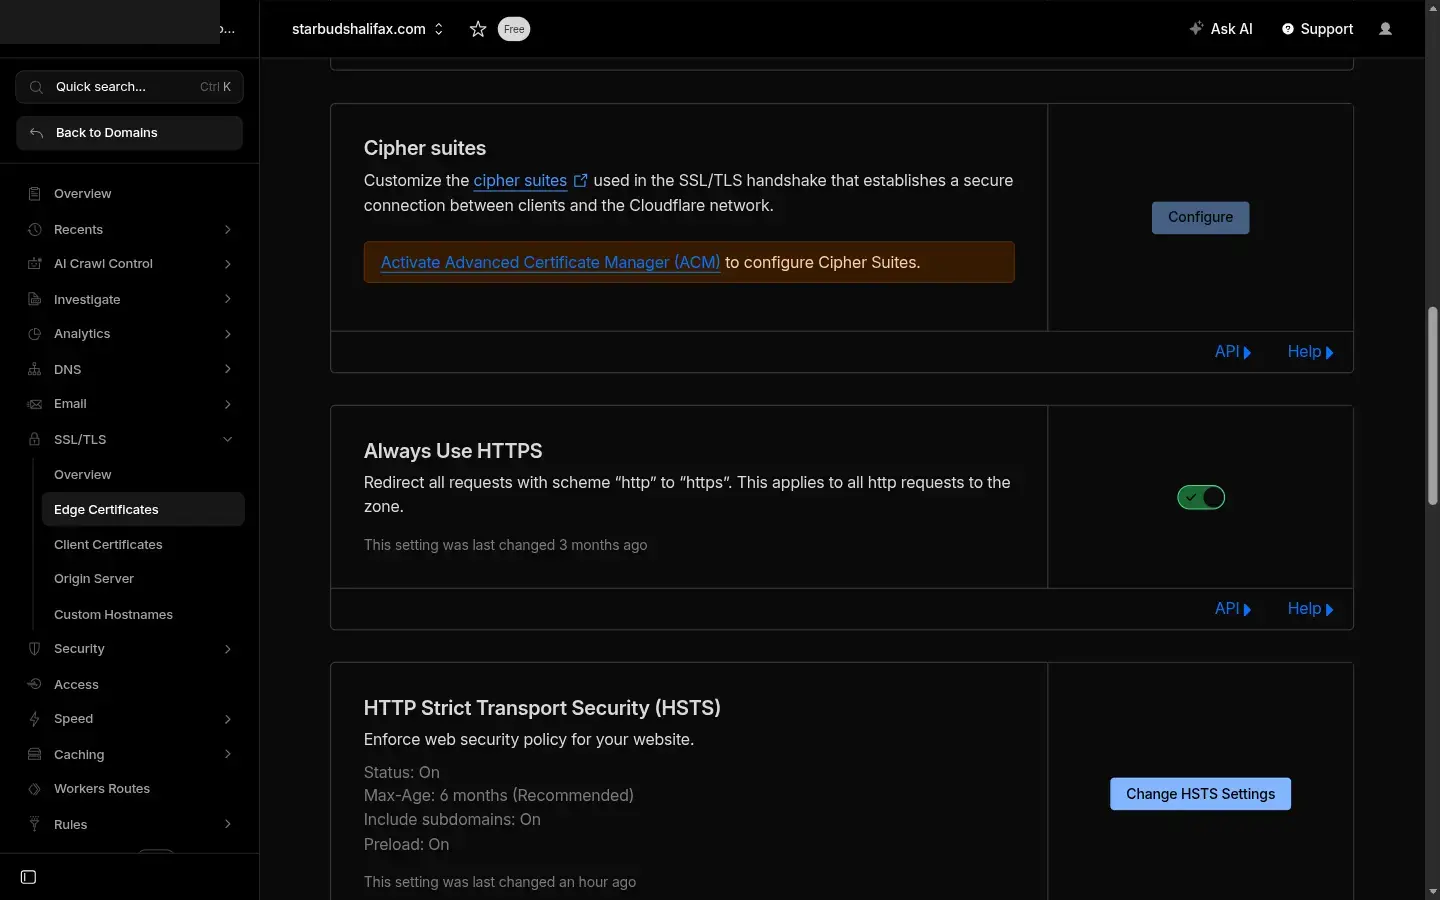
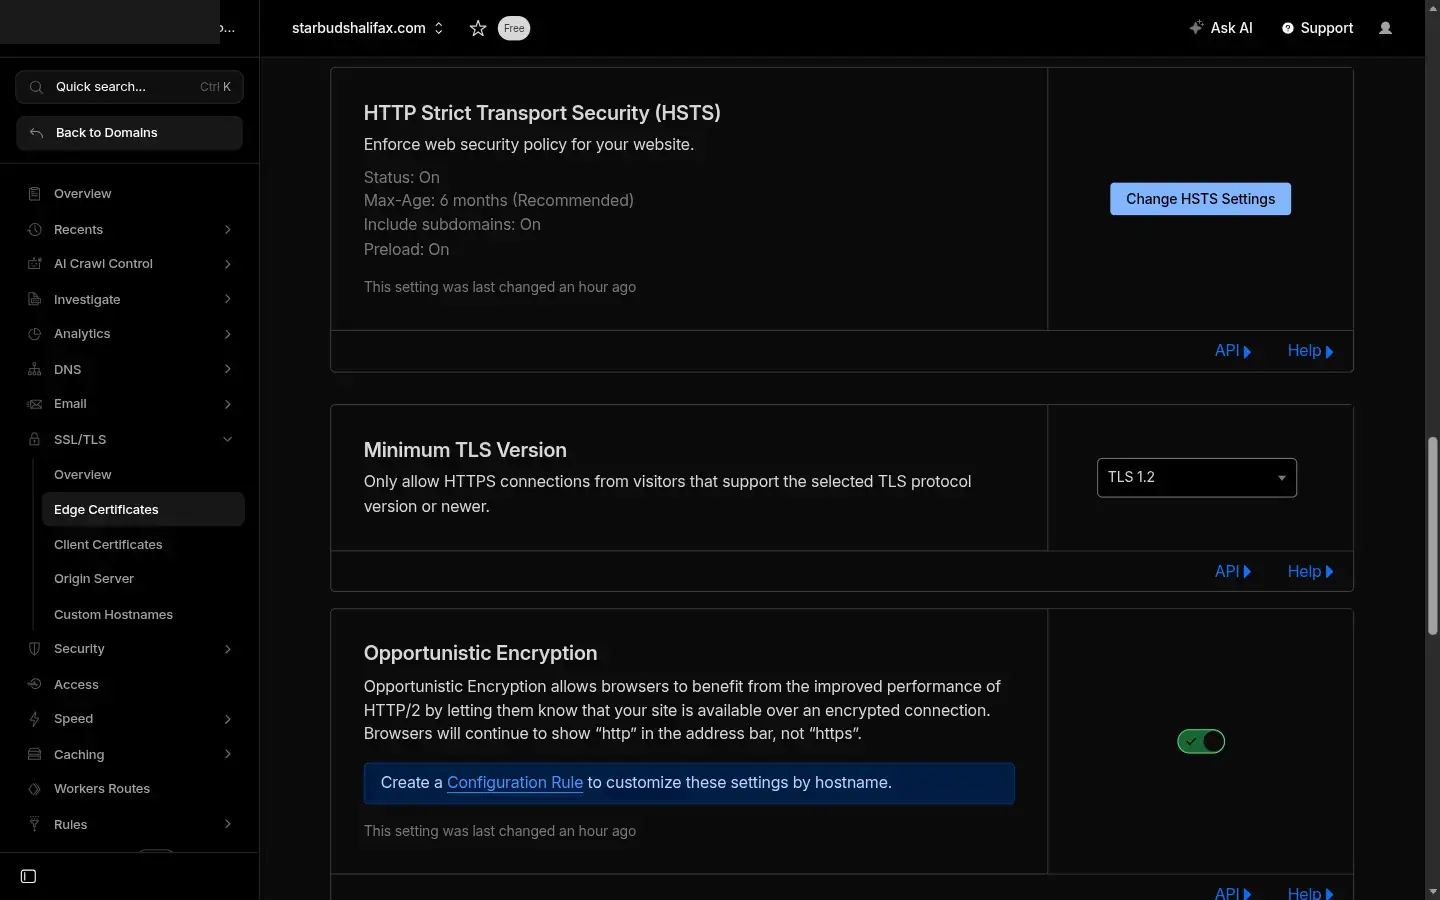
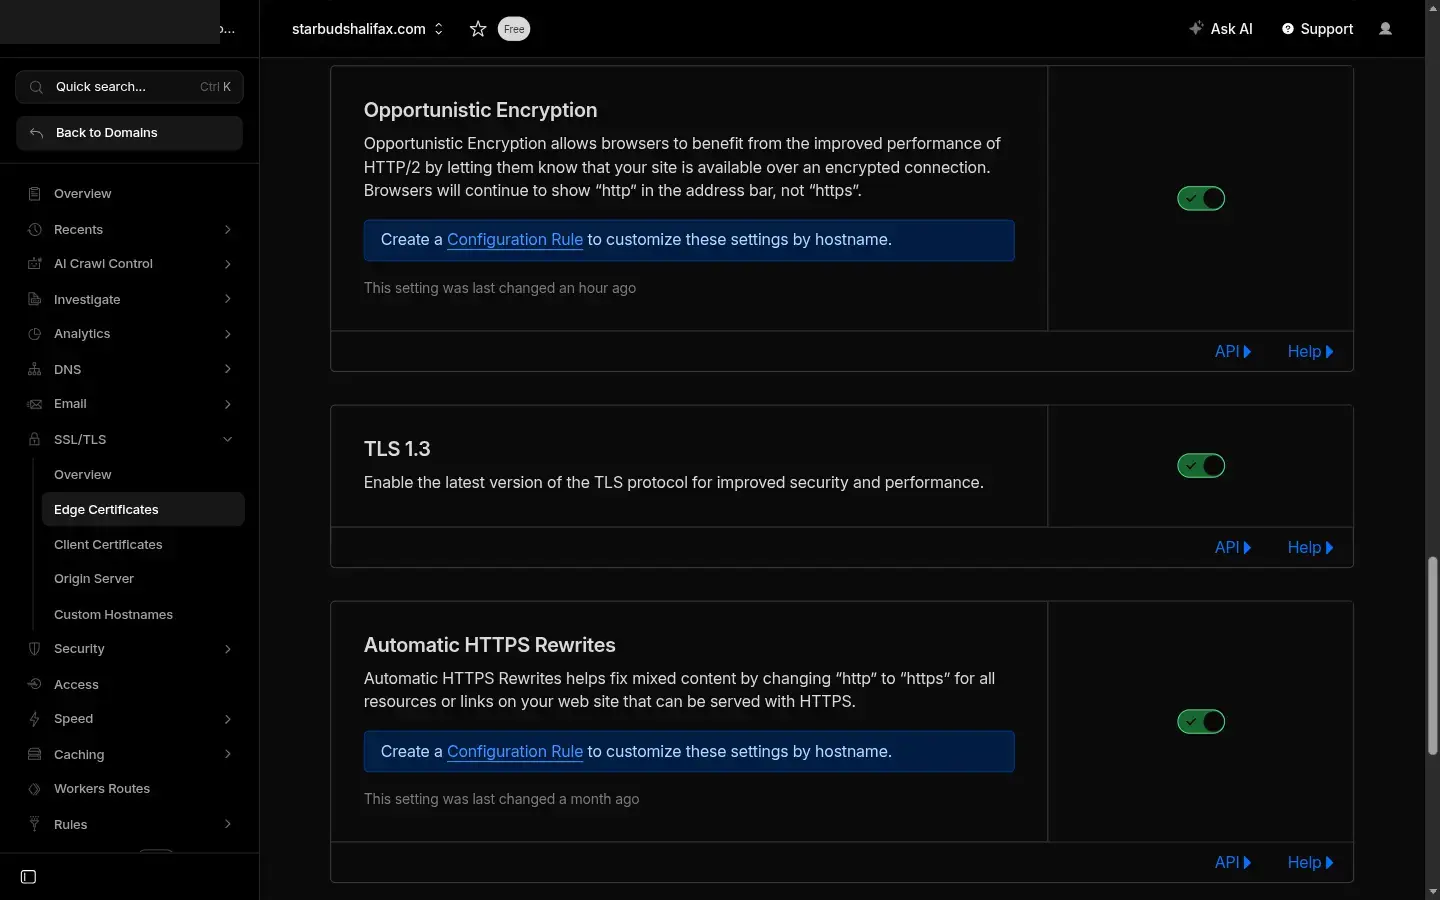
| Setting | Value |
|---|---|
| Always Use HTTPS | On |
| Automatic HTTPS Rewrites | On |
| Opportunistic Encryption | On |
| Minimum TLS Version | TLS 1.2 |
| TLS 1.3 | On |
Speed → Optimization → Protocol Optimization
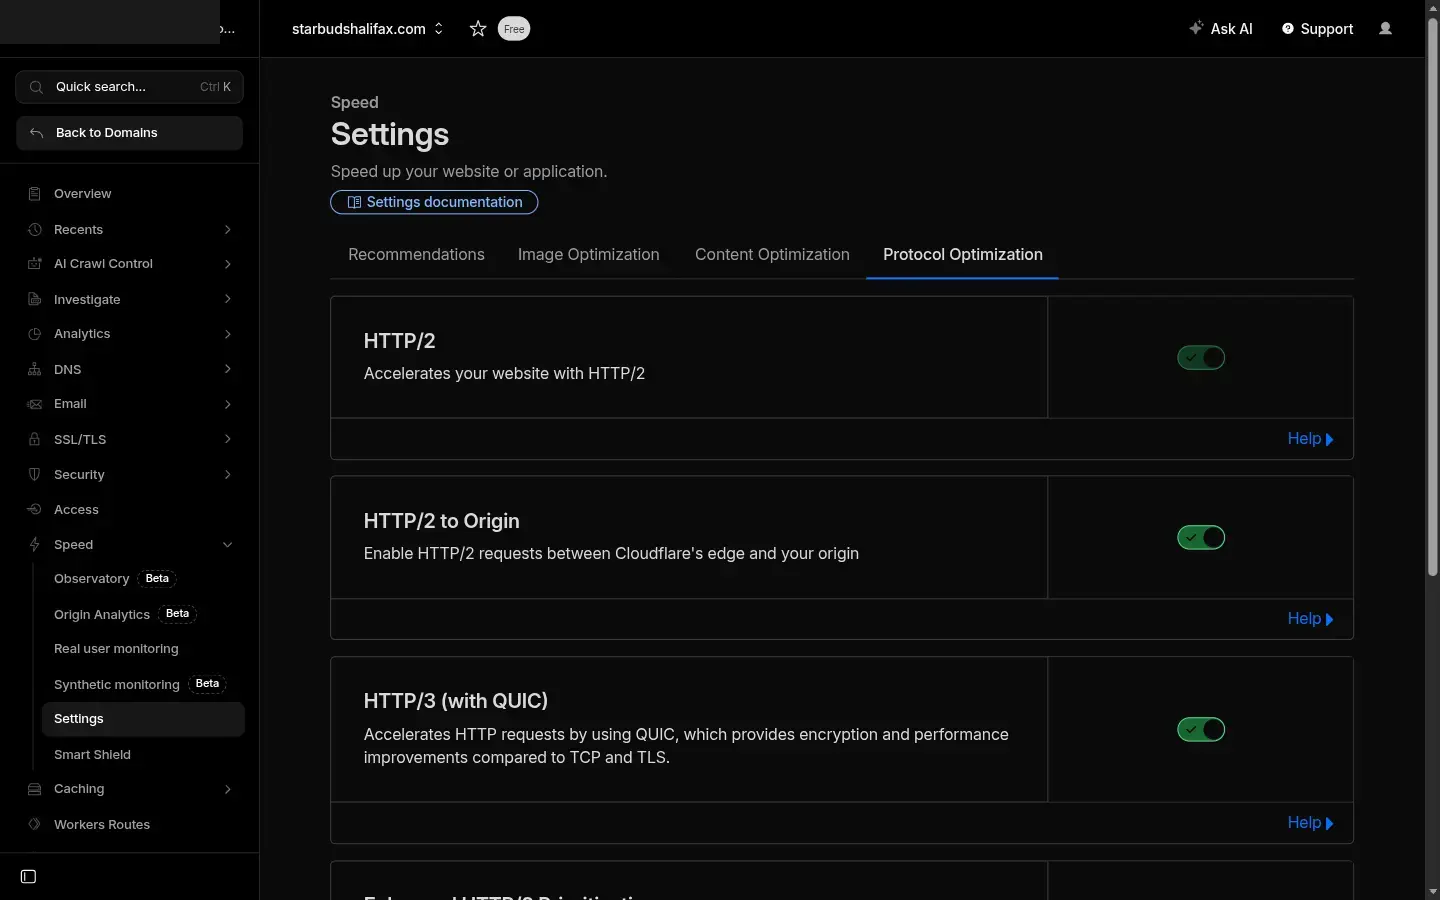
| Setting | Value |
|---|---|
| HTTP/2 | On |
| HTTP/3 (QUIC) | On |
Network
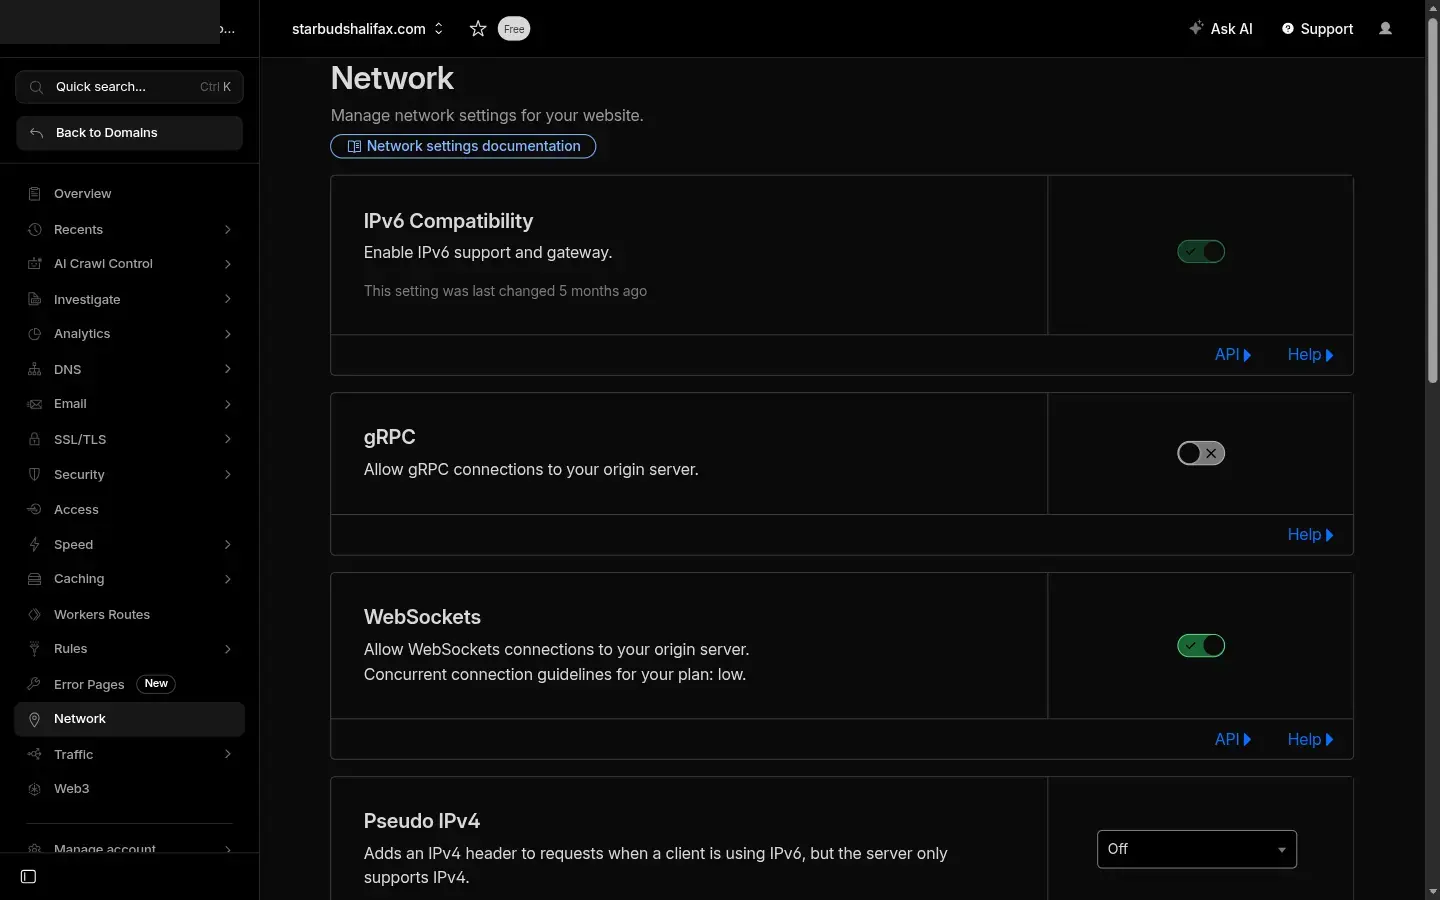
| Setting | Value |
|---|---|
| IPv6 Compatibility | On |
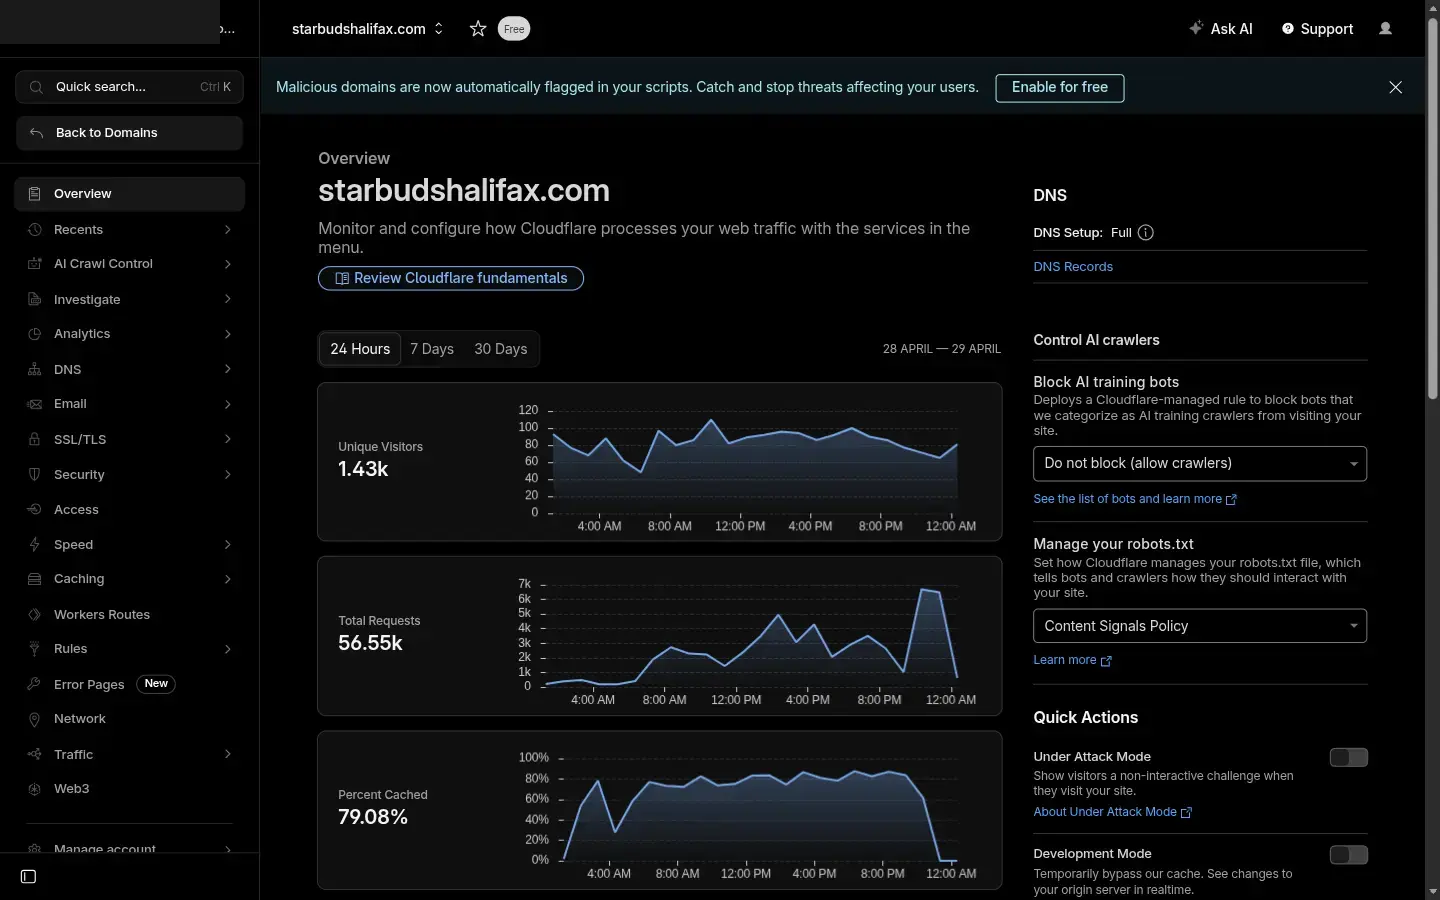
After applying the settings manually, return to Settings → Integrations and click Re-Sync Optimal Settings. DabDash re-checks the zone and the badge should update to In Sync.
Zone Maintenance
DabDash periodically checks whether your Cloudflare zone still matches the managed profile. If someone changes a setting directly in Cloudflare, the status badge changes to Needs Sync.
- Go to Settings → Integrations.
- Find the Cloudflare card — if the badge shows Needs Sync, click Re-Sync Optimal Settings.
- DabDash re-applies all managed zone settings. The badge returns to In Sync.
Tips
- The Open Cloudflare button pre-fills the exact permissions DabDash needs — use it to avoid creating a token with too few or too many permissions.
- If the token validation fails, check that the token was not accidentally truncated when copying.
- Only connect Cloudflare zones you want DabDash to manage. The token grants write access to DNS, SSL, and zone settings.
- Disconnecting Cloudflare removes DabDash access but does not delete DNS records that were already created. Remove those manually in Cloudflare if needed.
Frequently Asked Questions
What does DabDash configure in Cloudflare automatically?
DabDash applies Always Use HTTPS, Automatic HTTPS Rewrites, Opportunistic Encryption, TLS 1.3, minimum TLS 1.2, Brotli compression, HTTP/2, HTTP/3, IPv6, and sets the SSL mode to Full (strict). It also creates the required A record and TXT DNS records for your custom domain.
What is Full (strict) SSL mode and why does DabDash use it?
Full (strict) mode means Cloudflare connects to the DabDash origin server over HTTPS and verifies the SSL certificate. DabDash no longer accepts HTTP connections on port 80, so all traffic must arrive over HTTPS. Full (strict) enforces this end-to-end.
What do I do if Cloudflare auto-apply fails?
Go to your Cloudflare dashboard and apply the settings manually: set SSL mode to Full (strict) under SSL/TLS → Overview, turn on Always Use HTTPS and Automatic HTTPS Rewrites under Edge Certificates, enable Brotli and HTTP/2/HTTP/3 under Speed, and turn on IPv6 under Network. Then click Re-Sync Optimal Settings in DabDash.
What DNS records does DabDash create for a custom domain?
DabDash creates three records: a proxied A record for your domain pointing to 93.95.229.147, a proxied CNAME for www pointing to your domain, and a TXT verification record at _dabdash-verify.your-domain.com. All records are marked as managed by DabDash.
What token permissions does DabDash need for Cloudflare?
The token needs DNS write, Zone read, Zone settings write, SSL and certificates write, Dynamic URL redirects write, and Cache purge access. The Open Cloudflare button pre-fills these six permissions in the Cloudflare token template.