Guided Setup
The first-time setup wizard walks you through your shop address, delivery area, and example data so your store is ready in minutes.
Overview
The first time you sign in, a short setup wizard opens automatically. It walks you through the three things every store needs before it can take orders: where your shop is, the area you deliver to, and some example data so you can see how everything looks. The whole thing takes two or three minutes.
You can move forward and back between the steps, and nothing is permanent — every choice you make in the wizard can be changed later from the matching settings page. The wizard is just the fastest way to get a working store on day one.
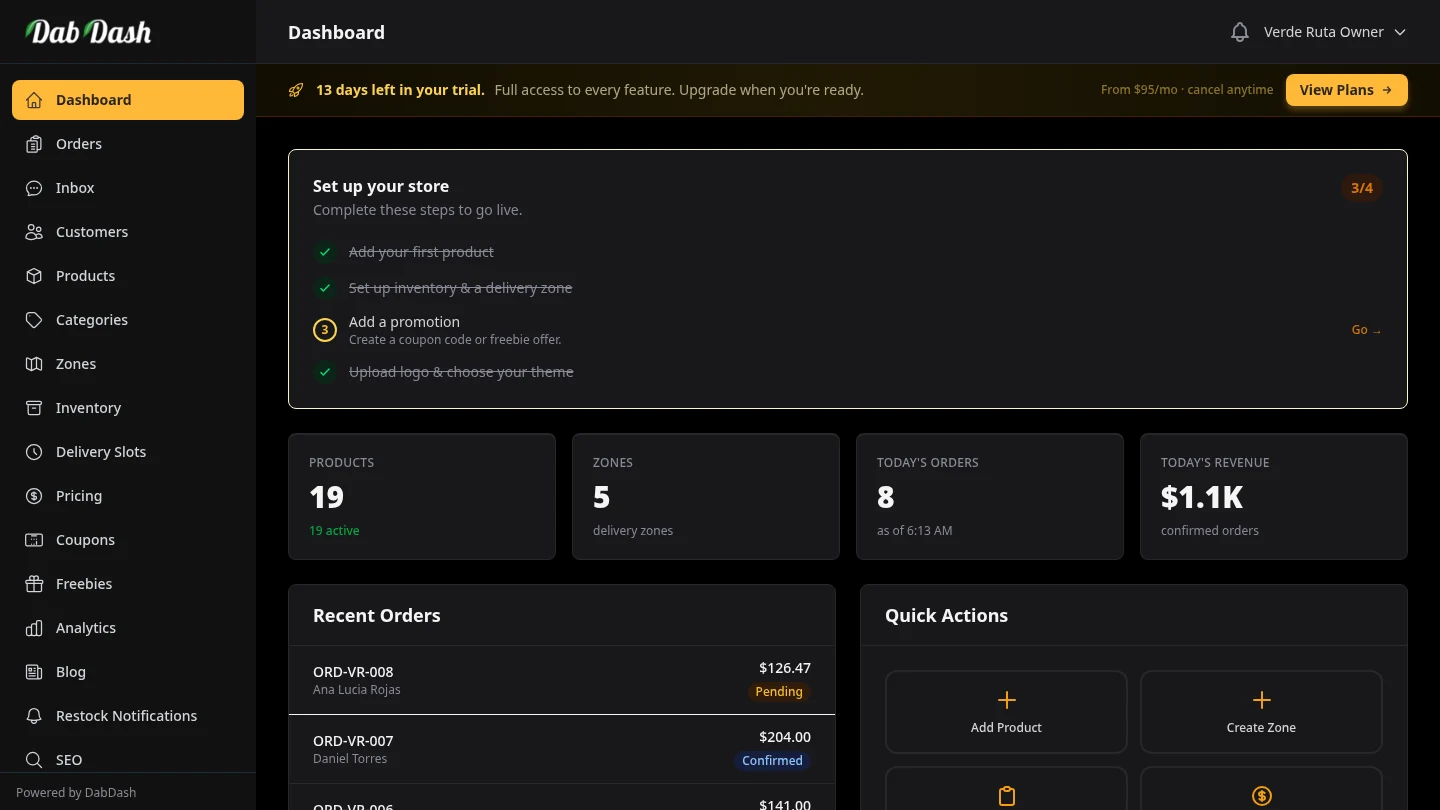
If you close the wizard or want to revisit it, you can relaunch the guided tour at any time from the ? help button in the top corner of the dashboard.
Step 1 — Your Shop Address
The first step asks "Where's your shop?" Start typing your address and choose the matching suggestion from the auto-complete list. As soon as you pick an address, a small map preview appears so you can confirm the pin is in the right spot.
Your shop address matters for more than just contact details — it is the centre point used to suggest your delivery area in the next step, and it is the starting point for every delivery route.
- Address auto-complete
- Type a few words and pick the correct result. This fills in the full address and places the map pin for you, so there is no need to enter coordinates by hand.
- Map preview
- Check that the pin sits on your actual shop. If it is slightly off, you can adjust the address and the pin will move with it.
Step 2 — Your Delivery Area
The second step sets up the area you deliver to. You have two easy ways to start, and you can refine everything later — this step is fully reversible.
- Accept ready-made delivery rings — DabDash can draw simple circular areas around your shop for you. This is the quickest option and works well if you deliver "within a certain distance" of your location.
- Import real neighbourhood boundaries — if you prefer to deliver to specific named areas, you can bring in real neighbourhood shapes near your shop instead of plain circles. This gives your coverage cleaner, more recognisable edges.
Whichever you choose, your delivery area is created instantly and customers are matched to it automatically — there is nothing for them to pick. You can fine-tune the shapes, add more areas, or remove ones you don't need at any time from the Zones page.
Because this step is reversible, it is fine to accept the suggested area now and perfect it later once you see real orders coming in.
Step 3 — Example Data & Finishing
The final step is "Add example data & finish up." This is where your store comes to life so you can explore it before adding your own products.
- Add example data
- Adds a few example products, a sample order, and an example coupon. This lets you see exactly how your storefront, orders, and promotions look and behave — without waiting for real customers. You can delete the examples whenever you like once you've had a look around.
- Quick-start guide cards
- After finishing, your dashboard shows quick-start cards that point you to the next sensible things to do — add your real products, set delivery times, and check your store looks right.
- "Don't show this again"
- Tick this if you don't want the wizard to open automatically next time you sign in. You can still relaunch the guided tour later from the ? help button.
When you finish this step, the wizard closes and you land on your fully set-up dashboard, ready to take orders.
Tips
- Don't overthink the setup — every choice is changeable later. Accept the suggestions to get running, then refine.
- Check the map pin in Step 1 carefully. A correct shop location keeps your suggested delivery area and your routes accurate.
- Add the example data even if you plan to delete it. Seeing a working store makes the rest of the dashboard much easier to understand.
- If you want to walk through everything again, open the ? help button and start the guided tour — it highlights each part of the page step by step.
- Fine-tune your delivery area on the Zones page once you've seen where your first real orders are coming from.
Frequently Asked Questions
What does the DabDash setup wizard do?
The first time you log in, the setup wizard walks you through three quick steps: confirm your shop address, set your delivery area, and add example data so you can see how your store looks. It gets a new store ready in minutes.
How does the setup wizard set my delivery area?
After you enter your shop address, the wizard suggests a delivery area for you. You can accept ready-made delivery rings around your shop, or import real neighbourhood boundaries. You can always fine-tune zones later on the Zones page.
Can I reopen the DabDash setup wizard later?
Yes. The wizard shows on login until you finish it or tick "Don't show this again". Even after that, every page has a ? help button with an interactive tour that walks you through it step by step.